
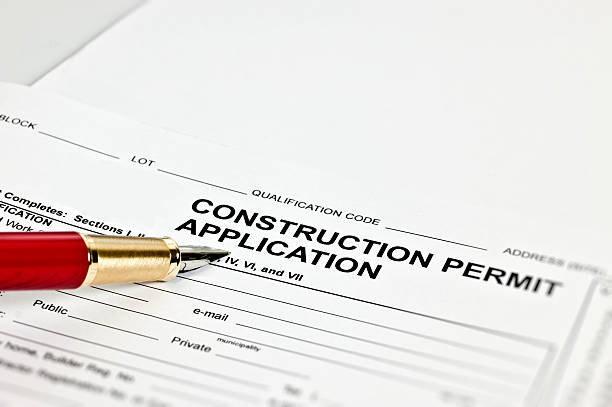
How to Handle LPA Rejections and Resubmit Successfully
Securing LPA Approval is a critical step for developers, builders, and property owners looking to undertake construction or development projects. However, the process can sometimes hit a roadblock in the form of rejections. Receiving an LPA (Local Planning Authority) rejection can be discouraging, but it doesn’t mean the end of the road. Understanding why your application was rejected and knowing the steps to resubmit successfully can make all the difference. In this blog, we’ll explore practical strategies to handle LPA rejections and improve your chances of approval in your next submission.
Understanding LPA Rejection
Before diving into corrective measures, it’s essential to understand why applications are rejected. Common reasons include:
Incomplete Documentation: Missing or incorrect forms, plans, or supporting documents can lead to outright rejection.
Non-compliance with Zoning Laws: If your project doesn’t align with local zoning regulations or land use policies, LPA may refuse approval.
Environmental and Safety Concerns: Projects that pose environmental risks or fail to meet safety standards often face rejection.
Technical Errors in Plans: Structural drawings, layouts, or specifications that don’t comply with building codes can be a reason.
Public Objections: In some cases, opposition from the community or stakeholders can influence the LPA’s decision.
By identifying the specific reason behind your rejection, you can focus your efforts on addressing the key issues.
Step 1: Analyze the Rejection Notice
The first step in handling an LPA rejection is carefully reviewing the rejection notice. Authorities usually provide detailed feedback highlighting the shortcomings of your application. Pay close attention to:
Comments from planners or inspectors
Specific regulatory violations cited
Missing documentation or technical errors
Take notes and create a checklist of areas that need correction. This structured approach ensures you don’t overlook any critical points when preparing for resubmission.
Step 2: Consult Experts
If the rejection involves technical or regulatory issues, consulting with experts can save time and effort. Consider seeking advice from:
Architects and civil engineers to revise building plans or layouts
Legal consultants to ensure compliance with zoning and land laws
Environmental consultants if your project needs ecological clearances
Expert guidance can significantly increase the chances of your revised application being approved.
Step 3: Rectify the Errors
Once you have a clear understanding of the rejection reasons, it’s time to address them:
Update Documentation: Ensure all forms, certificates, and plans are complete, accurate, and up to date.
Compliance with Regulations: Align your project with local planning regulations, building codes, and safety standards.
Incorporate Feedback: Modify your plans according to the LPA’s specific suggestions or requirements.
Mitigate Public Concerns: If objections were raised, consider revising your project layout or engaging with stakeholders to resolve conflicts.
Attention to detail in this stage is crucial; minor oversights can lead to repeated rejections.
Step 4: Prepare a Strong Resubmission
Resubmitting your application requires careful preparation:
Attach a Cover Letter: Explain the steps taken to address the previous rejection and demonstrate your commitment to compliance.
Highlight Revisions: Clearly indicate changes made in response to the feedback received.
Ensure Completeness: Double-check that all forms, drawings, and supporting documents are included.
Maintain Professional Presentation: A well-organized submission can positively influence the reviewing authority.
A structured and thorough resubmission communicates your seriousness and attention to detail, improving your chances of securing LPA Approval.
Step 5: Follow Up with the LPA
After resubmitting, maintain proactive communication with the planning authority:
Seek confirmation that your application has been received.
Ask for any updates on the review process.
Be responsive to any further queries or clarifications requested.
Timely follow-ups can prevent unnecessary delays and show your commitment to compliance.
Step 6: Learn and Implement Best Practices
Even after approval, the process of handling a rejection offers valuable lessons for future projects:
Keep documentation organized and updated.
Maintain regular consultations with experts to ensure compliance.
Understand local planning policies to avoid avoidable mistakes.
Engage with communities early to mitigate objections.
By incorporating these best practices, future applications for LPA Approval can be smoother and faster.
Conclusion
Handling an LPA rejection may seem daunting, but with careful analysis, expert guidance, and precise corrections, resubmission can be successful. By understanding the reasons for rejection, addressing technical and regulatory issues, and preparing a thorough and organized application, you significantly increase your chances of approval. Remember, persistence and attention to detail are key when navigating the LPA approval process.
Securing LPA Approval doesn’t have to be a stressful experience—approach it strategically, learn from setbacks, and turn a rejection into an opportunity for improvement.